

I chose Behr paints' Parchment Paper and Gobi Desert for my two colors. First, I painted two coats of Parchment Paper on all four walls in our guest room. It's been over two years since I painted anything, and I forgot how tedious it was. Even more of a pain was the bed in the middle of the room. Ugh!


In one post, I read that it's best to have an odd number of stripes, so I decided on 7 stripes. So I did the math by measuring the height of one wall and divide it by 7. I rounded it up and left the remaining centimeters or inches for the bottom stripe. Starting from the top, I measured my stripes using a level and a pencil. The level is your best friend! Depend and trust that what you're measuring is accurate. After drawing my lines, I used Frog's tape for taping, as most people suggested. Using a Dave & Buster's playcard, I rubbed the tape to make sure I got rid of as much of the air bubbles. I marked off the stripes that will be left in the Parchment Paper just so I didn't get confused. Oh, by the way, one website did suggest that it's good to have the top and bottom stripes be in the darker shade, so that's what I did. This step took me the longest, but Songza kept me sane and awake!


Next, I painted two coats one stripe at a time and proceeded to removing the tape as soon as I was finished with the second coat (while the paint was still wet) to eliminate leakage as much as possible. After a few touchups, I was happy with the results.

{panoramic view taken with my iPhone5}


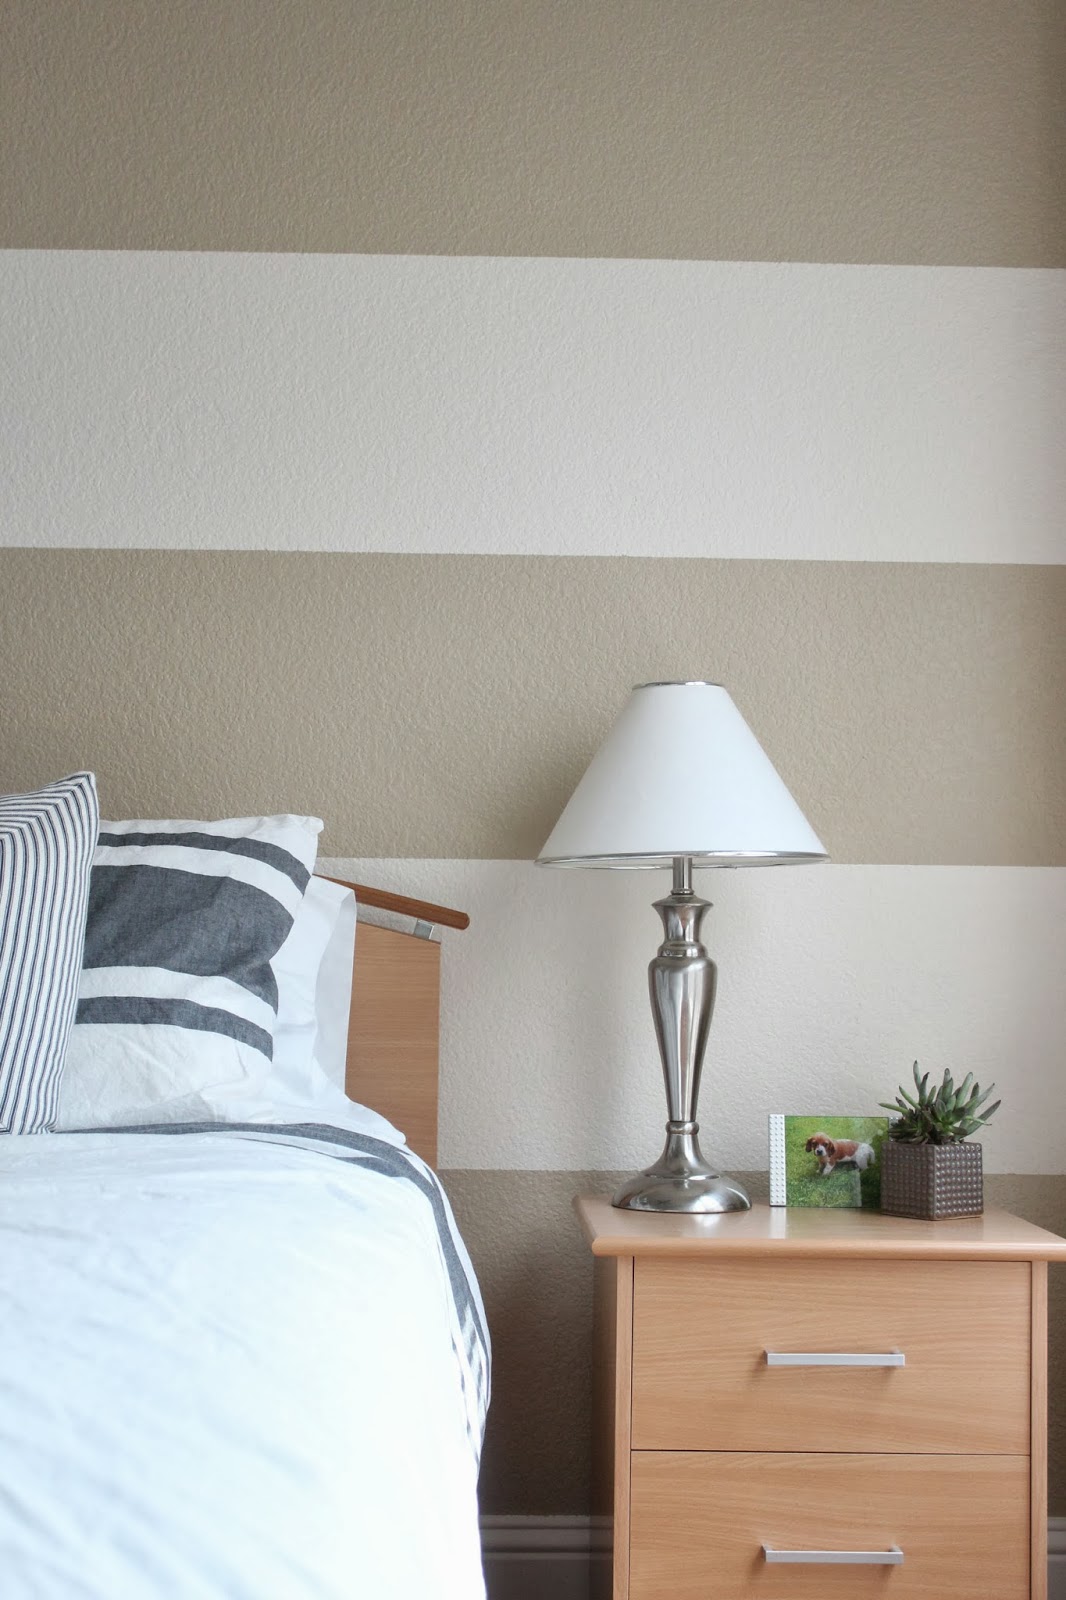

I especially like the view from the entryway.


Would I do this again? Probably. But I think next time around, I'll take this suggestion from one blogger: after laying the tape, paint the edge of the tape with the base paint to seal it. Let it dry completely and continue painting with the darker shade. This makes absolute sense. I wish I tried this since we have textured walls. But really, I just wanted to get painting! I went back and fixed some obvious leakage, but lezz be real. I would have to go over each stripe because no line is perfect. I finally said to myself , "SELF, you did good. Get over it and move on!"
Well, I said I wouldn't go into great detail, and here I am writing paragraphs! Oops! What do you think? Hope you'll try this somewhere in your home. If you're too lazy to do the whole room, try an accent wall! This can be tackled in one weekend for sure, but unfortunately, I had to work this in between naps and staying up late after Little H went to bed.
I spoke too soon. Little H is up! Have Friday, friends!
No comments:
Post a Comment
Leave some love!